Working on clouds is always an exciting and challenging ordeal. They are soft and need to be blended quite a bit. But some clouds are bright with harder edges. And the variety of clouds is endless…which makes them so fun to paint. We can do whatever we want with them!
My commission painting is going well so far and we will now begin livening up our sky a bit. If you missed part one of this commission series, here is the link:
https://ryankimba.wordpress.com/2017/01/16/beneath-the-surface-painting-a-commission-step-1/
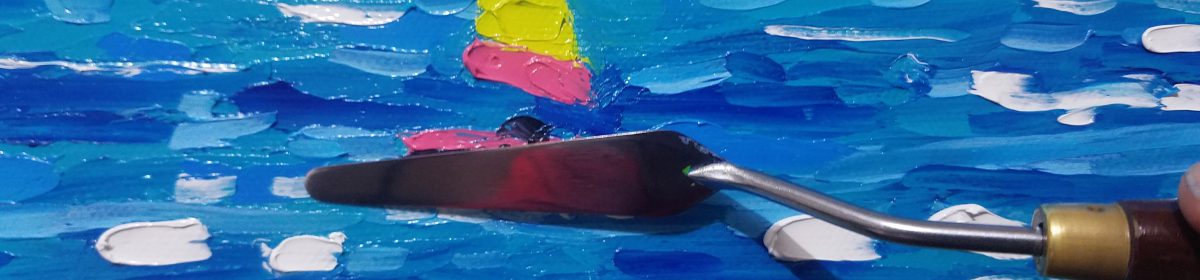
Here are the colors I will be using for our clouds.

For our violet I mixed some Alizarin Crimson, which is a bluer red, with Ultramarine Blue. This color will be dark, so don’t forget to mix in some Titanium White. We will have a few shades of pink also, some warmer and some cooler. The base of my pink colors is Bright Pink from the Old Holland line. Use the palette knives to mix the paints on your palette and use the fan brushes to apply to the support.

First let’s start with a mid-tone pink color, smudging it in with the palette knife. From there we can scrape these mounds together with the fan brush.

Here is what our canvas should look like, with some pink at the horizon and also where the two blues intersect. The next part of the process will consist of getting rid of that unsightly border line between the blues.
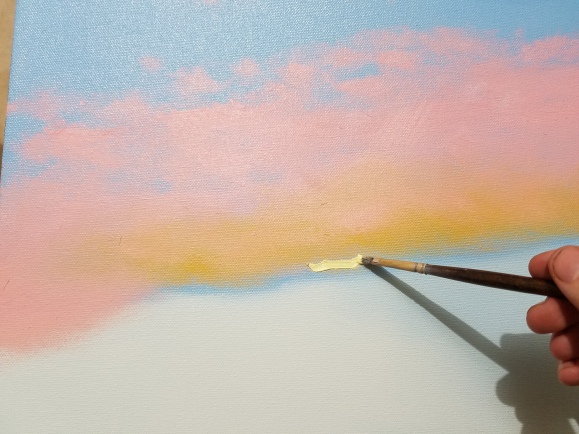
In this phase I simply added in some Cadmium Yellow Medium to warm up the bottom of our pink clouds. This is where the sun is setting, so we want a bit of a gold lining. To achieve this let’s mix in a tiny speck of the yellow to white and rub the filbert brush along that dark blue border line. This will literally make our sky shine!

Now the fun really begins as we add in our lovely violet color to make the darkest clouds, the ones that are closest to the viewer. When painting them, make sure they don’t all look the same. I like to do several types of cloud when I am working on a sky in oils. It adds interest, especially when our focal point is the actual sky itself. For painting these clouds I like to use a soft-haired filbert brush, a #2, to be precise. But that is just my own personal preference. You can use any brush you’d like.
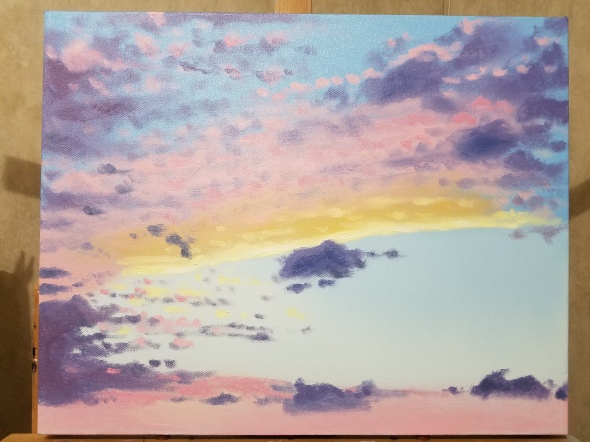
We will wrap up the sky by adding in some of the finer details to make the sky look polished. The key here is to blur the edges of the clouds to make them look puffy. I must say this commissioned painting is looking nice so far! I hope you are enjoying watching the process unfold as well.
Stay tuned next week for the last part of our series, in which we will be working on the tree tops at the bottom of our sky.
Commissions are great for any artist. They really allow you to stretch yourself mentally and artistically, being able to create something beautiful from another person’s life. Not to mention the nice payday that commission work can bring.
As always, do what you love to do. There is no finer calling. I wish you all the best in your lives and your creative endeavors, whatever they may be.
I’ll see you for part 3!
Until next time,
Ryan Kimba
http://www.etsy.com/shop/RKBeachPaintings
https://www.youtube.com/channel/UCoDaJL5tkFEHCzrC_yYrmcA


I’ve never been able to get along with clouds. It’s actually one of the reasons I gave up trying to paint big pictures. I hardly paint at all anymore. Damn clouds. You make it look easy.
LikeLike
Hi Harry! They didn’t always come naturally to me. It takes a lot of persistence to learn the ins and outs. Hopefully you will get back to painting in the near future. Thanks for reading.
LikeLiked by 1 person